
Disclosure: Our experts test apps for security before recommending them. If you buy through our links, we may earn a commission. See how it works.

TunnelBear VPN is a virtual private network service that provides secure and private internet browsing by encrypting your internet connection and hiding your IP address.
TunnelBear offers both free and paid plans. Once you have consumed 2000 MB of free data per month, you can then purchase the premium memberships starting from $9.99/month.
Currently, there’s no compatible TunnelBear APK for FireStick. Users need to manually split the TunnelBear APK from the XAPK file (v4.5.1) using the Downloader app and X-Plore File Manager.
P.S. The TunnelBear VPN app isn’t fully compatible with FireStick, so you will have to use the FireStick Remote app & connect a Bluetooth mouse to fully explore its features.
How to Sign Up for TunnelBear VPN on FireStick
Regardless of whether you are using the free or paid version of TunnelBear, signing up is a must.
Here’s how to create an account on TunnelBear VPN:
Step 1: Visit www.tunnelbear.com on your PC/laptop/mobile search browser and then click “Log In”.
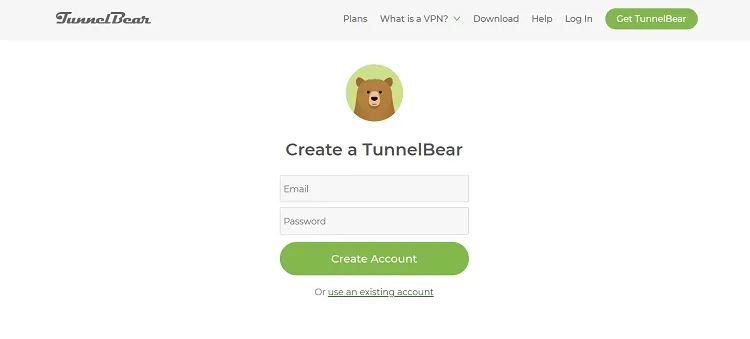
Step 2: Tap “Sign Up”.
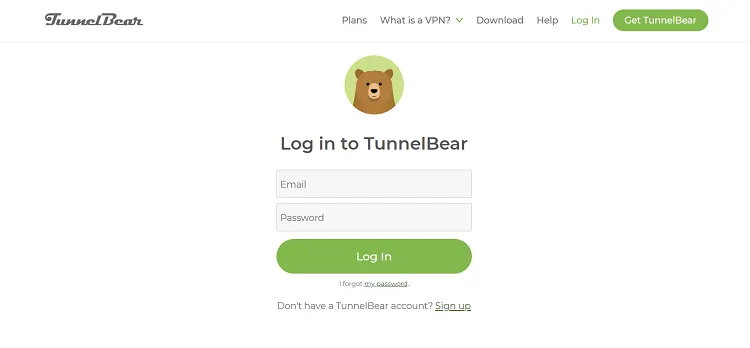
Step 3: Enter your email address and create a password.

Step 4: You will receive a verification link at your email address.
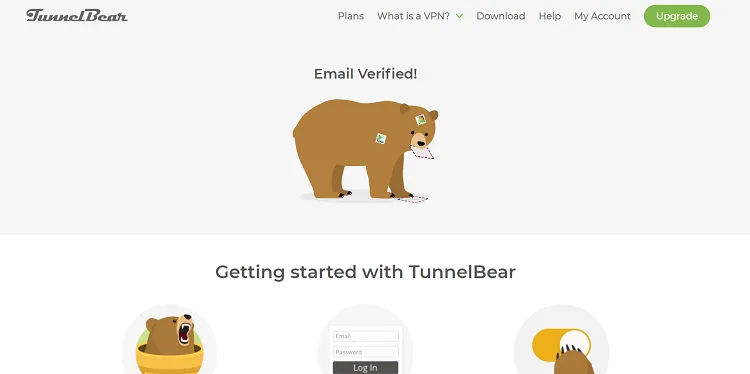
Step 5: That’s it. You have successfully signed up for TunnelBear.
How to Install TunnelBear on FireStick Using Downloader App
Since TunnelBear VPN isn’t listed on the Amazon Appstore, installing it on FireStick has become trickier because there’s no compatible APK file for FireStick.
To get TunnelBear VPN on FireStick, you will have to use X-Plore File Manager (Free) and the Downloader app to extract the APK from the XAPK file.
Follow the steps below:
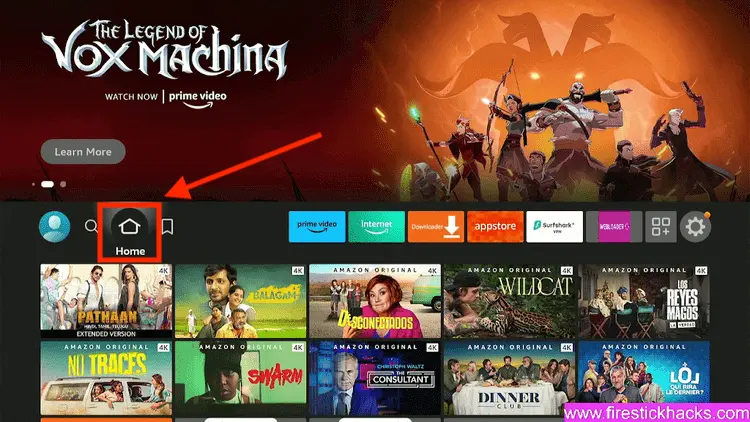
Step 1: Turn ON your FireStick device and Go to FireStick Home
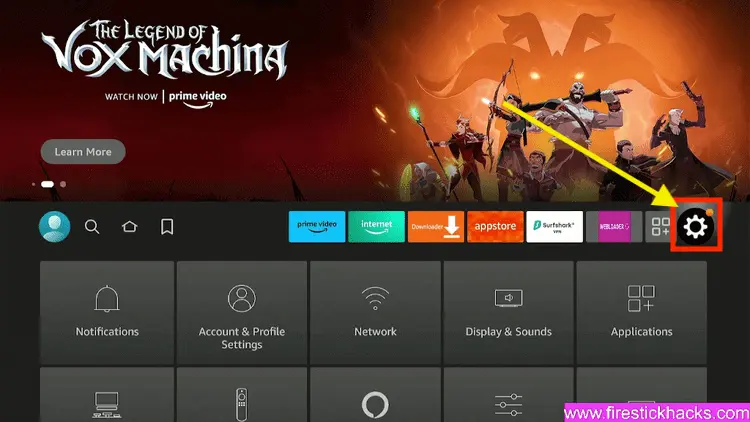
Step 2: Click on the Settings icon
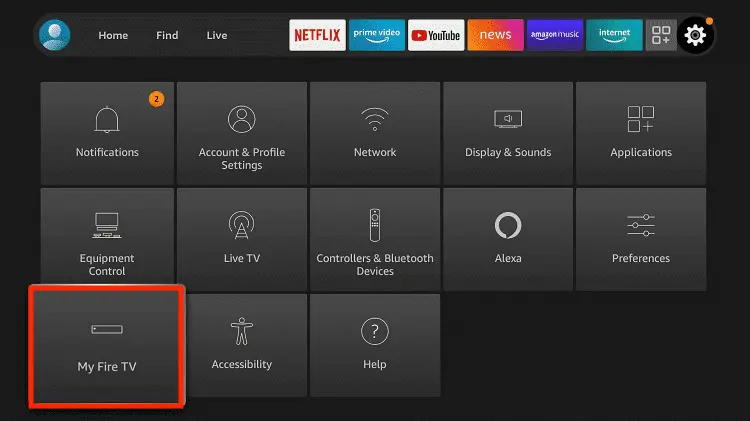
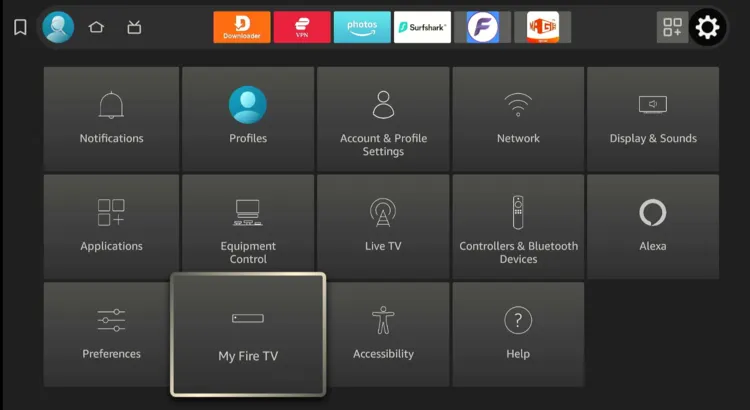
Step 3: Select the My Fire TV option
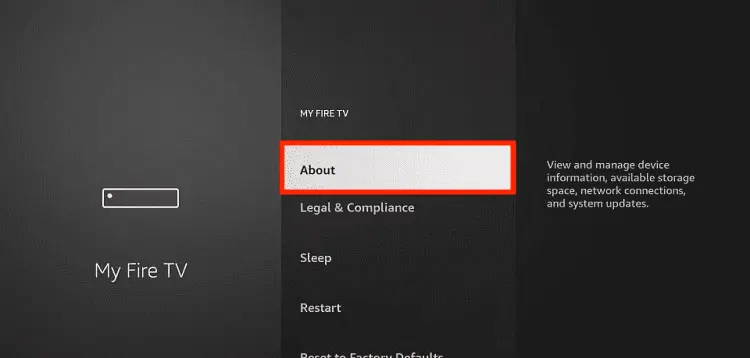
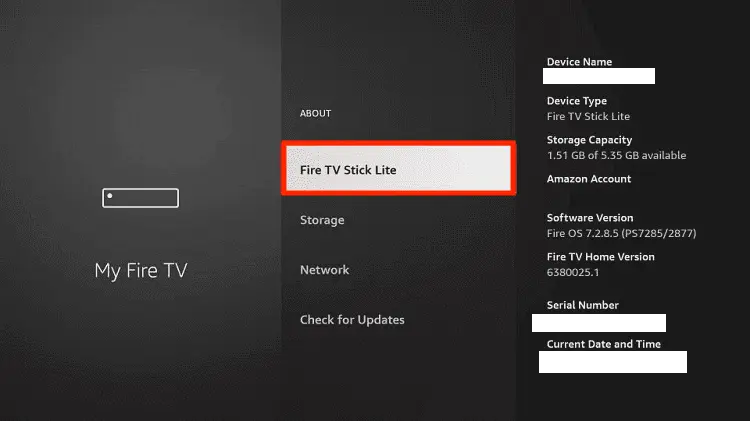
Step 4: To enable the Developer Option, click About.
Note: If you have already enabled the Developer Option, then proceed to Step 10
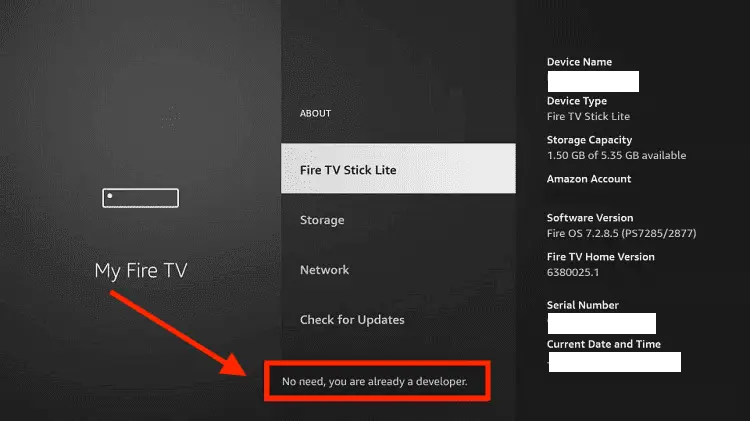
Step 5: Click on the Fire TV Stick option quickly at least 7 times
Step 6: Now you will see this message at the bottom saying "No need, you are already a developer". So stop clicking then
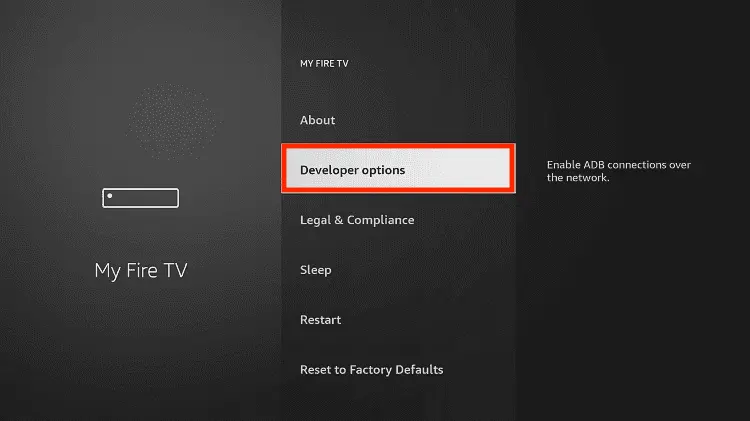
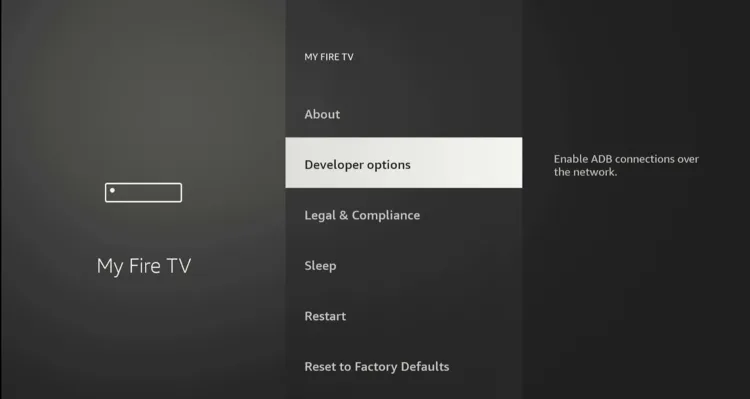
Step 7: Now the Developer Option will appear in the menu so click on it
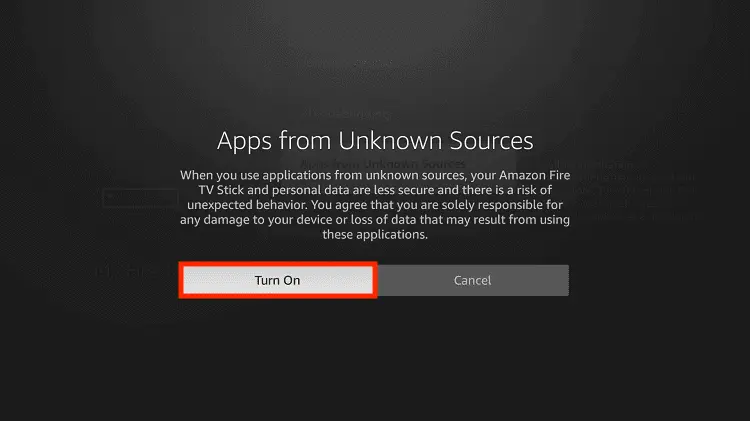
Step 8: Choose Apps from Unknown Sources to turn it ON
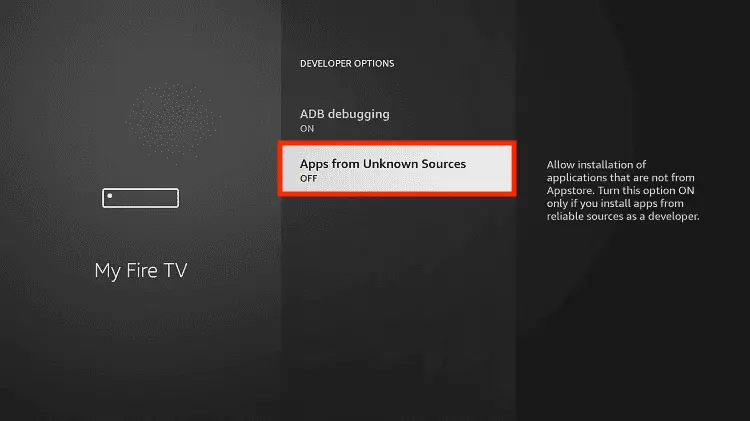
Step 9: Simply click Turn On
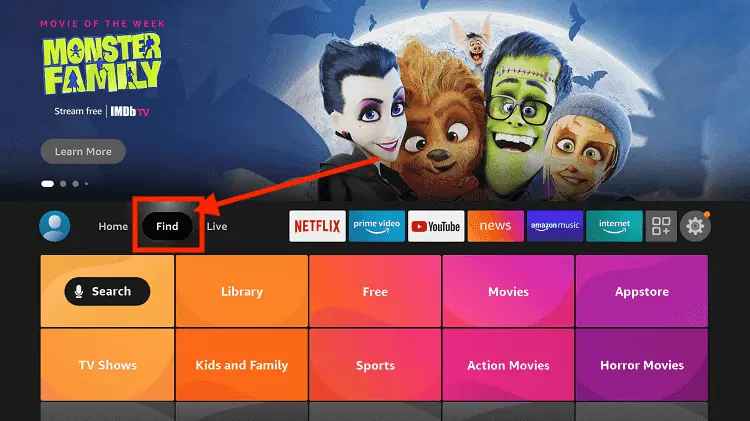
Step 10: Now return to the FireStick Home menu by pressing the "Home" icon on the remote and click on Find
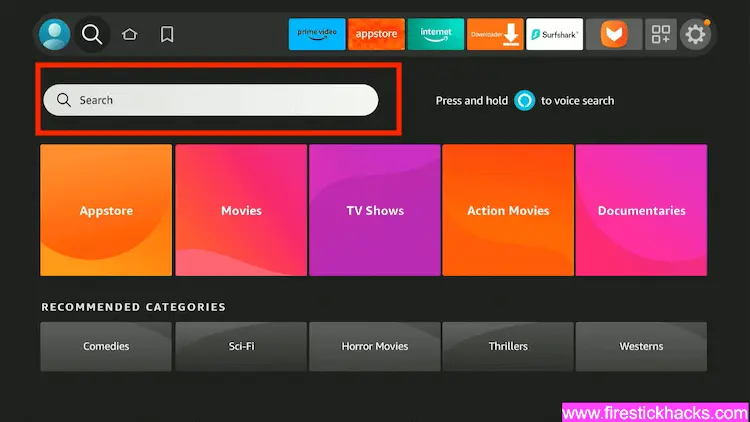
Step 11: Now select the Search icon
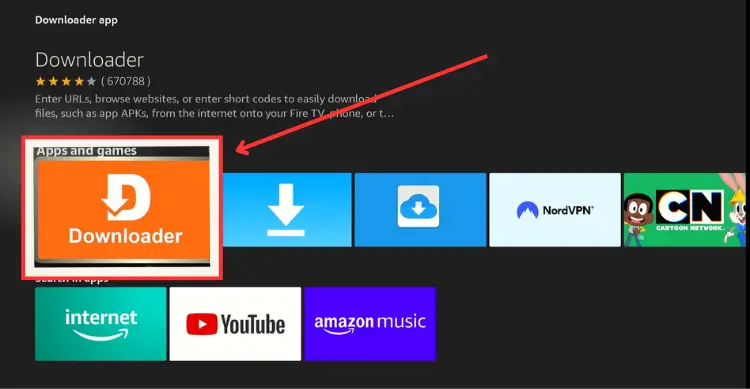
Step 12: Type Downloader and press search
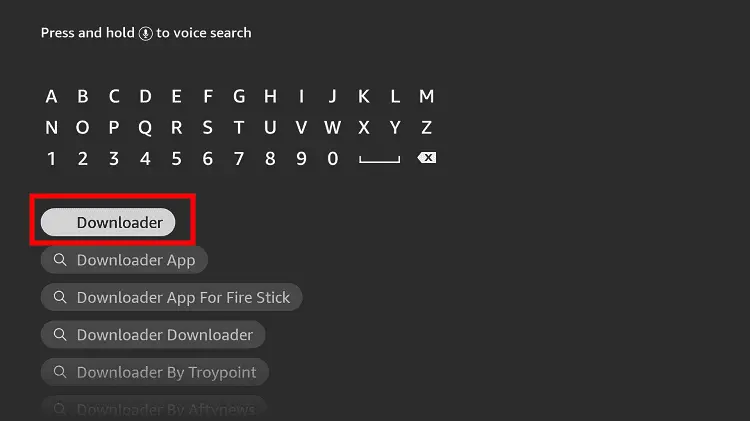
Step 13: Select the Downloader App icon from the list available in the Amazon Store
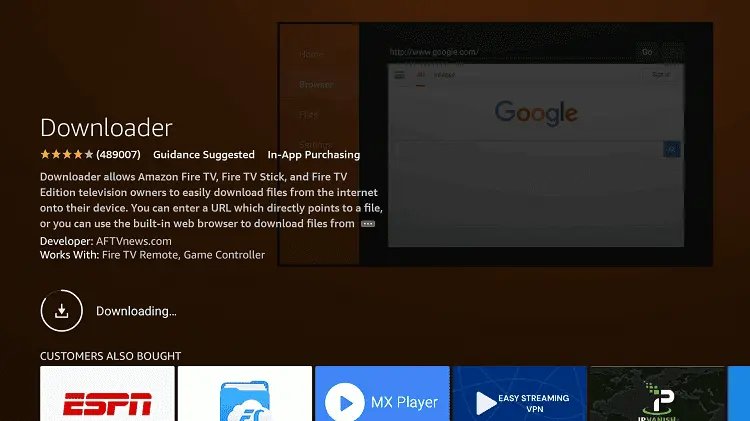
Step 14: Tap Get/Download

Step 15: Wait for a while until the installation process is completed
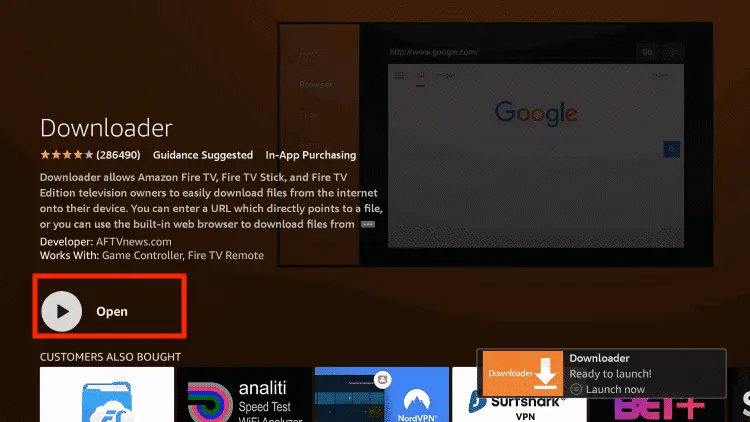
Step 16: Now click Open
Step 17: Select Allow to give access to the downloader app

Step 18: Click OK here
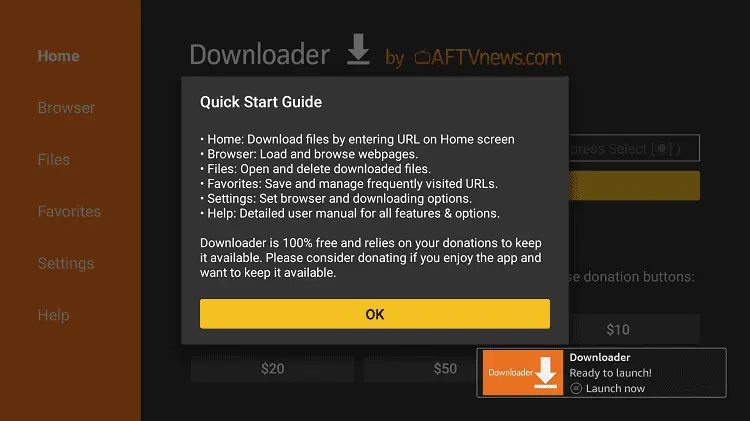
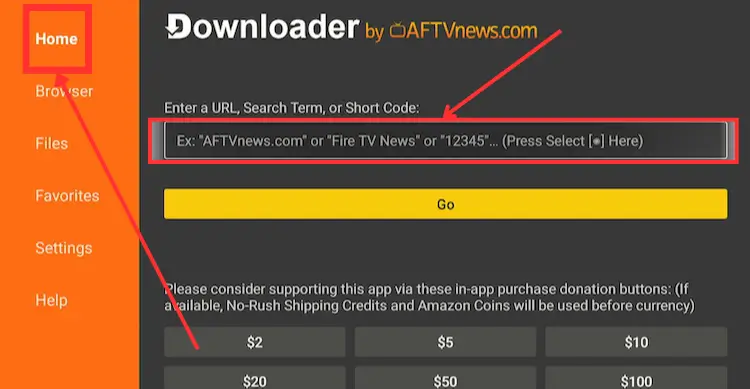
Step 19: This is the Downloader App interface, Choose the Home tab and click Search Bar
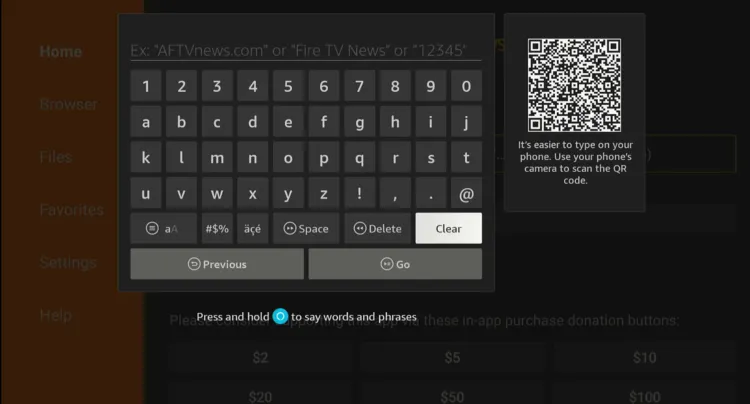
Step 20: Enter TunnelBear Downloader Code 730116 in the search box OR enter this URL bit.ly/fsh-downloads and click Go.
Note: The referenced link is the official URL of this app/website. FIRESTICKHACKS does not own, operate, or re-sell any app, streaming site, or service and has no affiliation with its developers.
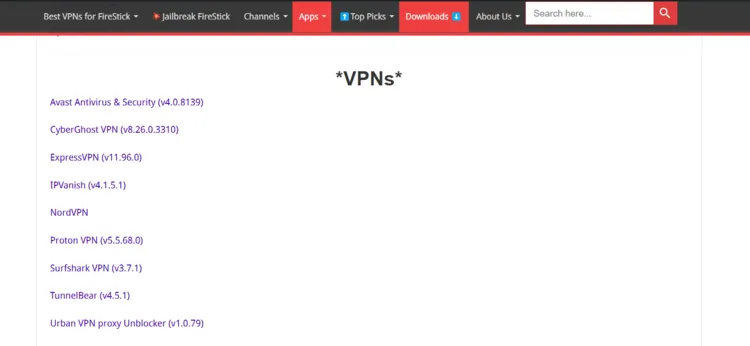
Step 21: Scroll down and click “TunnelBear” from the “VPNs” category.
Note: If the app doesn’t start downloading, then clear the Downloader App cache using this article.
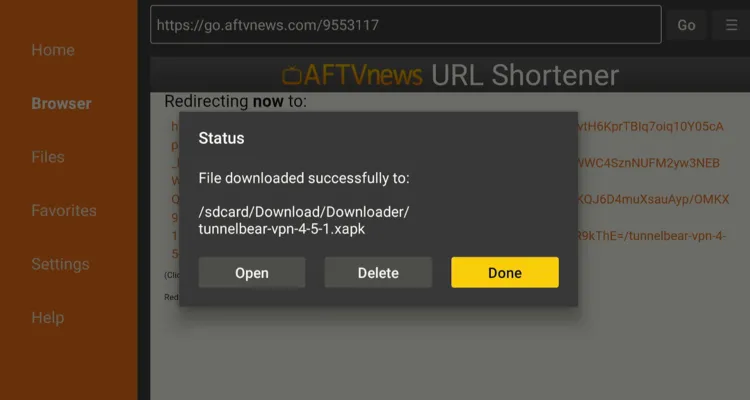
Step 22: The downloading process will start. Wait until it ends.

Step 23: Now tap “Done”.
Step 24: Now go to the FireStick home screen and click the “Find” icon and then tap “Search”.

Step 25: Type “Xplore File Manager” and select it from the results.
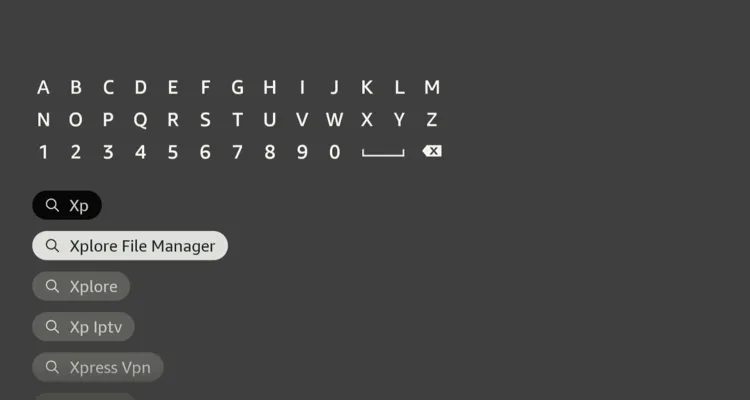
Step 26: Choose the “X-Plore File Manager” App.
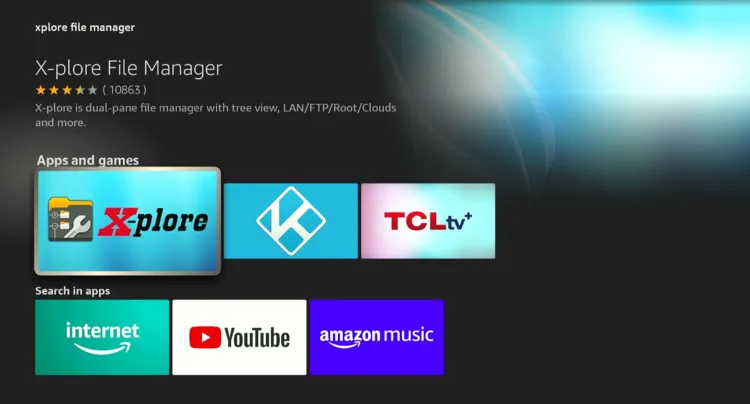
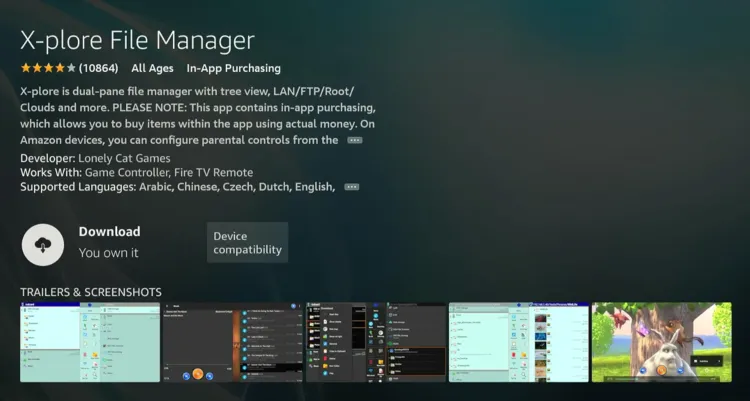
Step 27: Click “Download”.
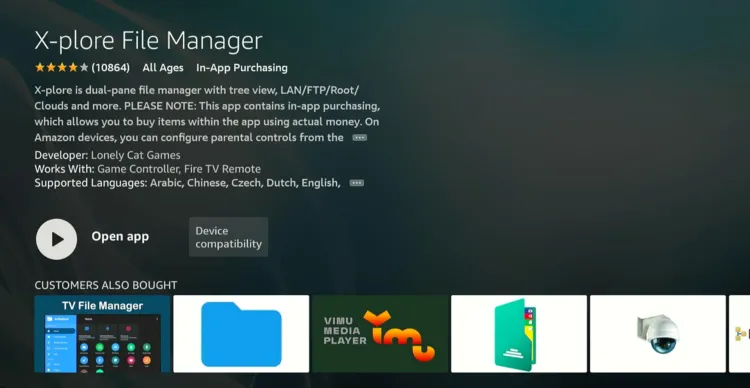
Step 28: Once the downloading ends, go back to the FireStick home screen.
Step 29: Click “Settings”.
Step 30: Tap “My Fire TV”.
Step 31: Choose “Developer Options”.
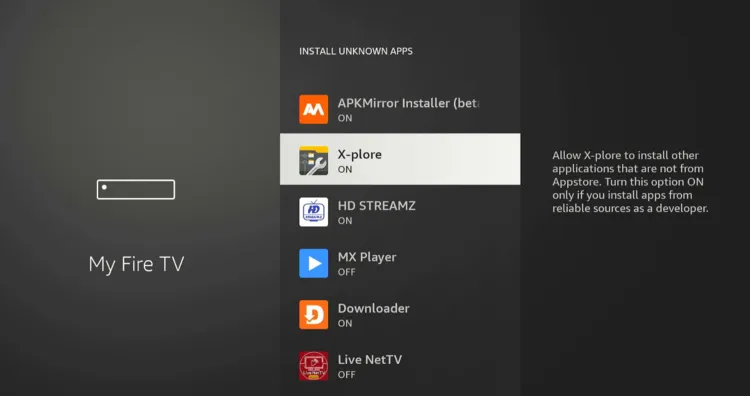
Step 32: Select “Install Unknown Apps”.
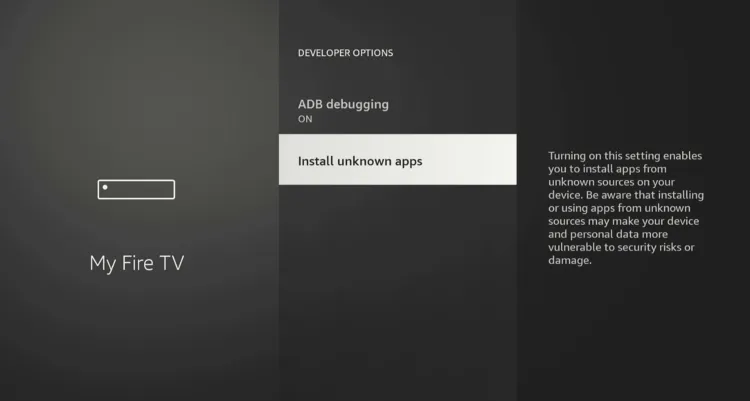
Step 33: Navigate to “X-Plore” and turn “ON” installation from unknown sources.
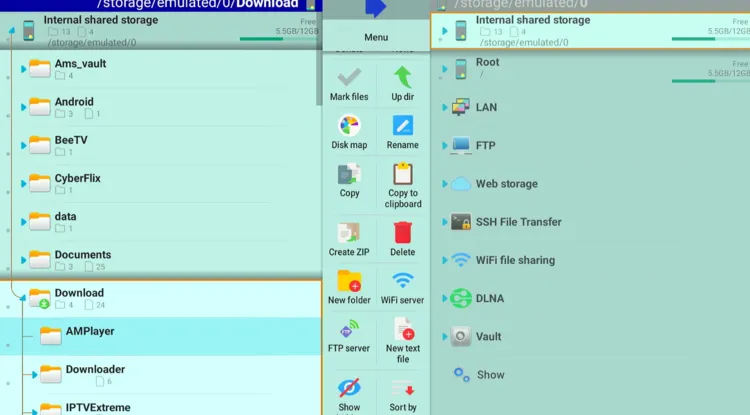
Step 34: Now launch X-Plore File Manager and navigate to “Download” and then select “Downloader”
Step 35: Choose “TunnelBear”. It will expand to show multiple files. Select “Install”.
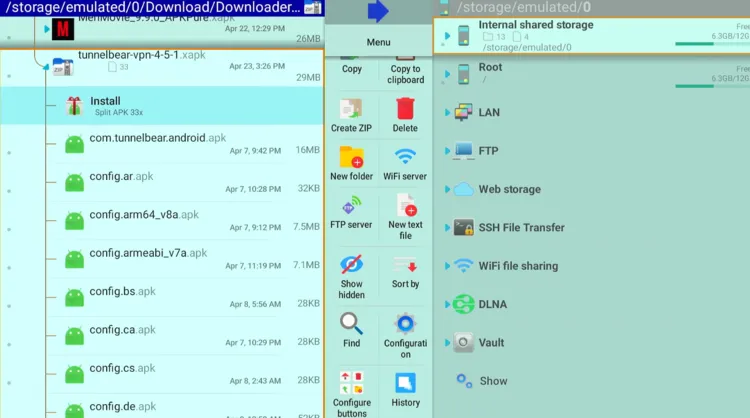
Step 36: Tap “Install”.

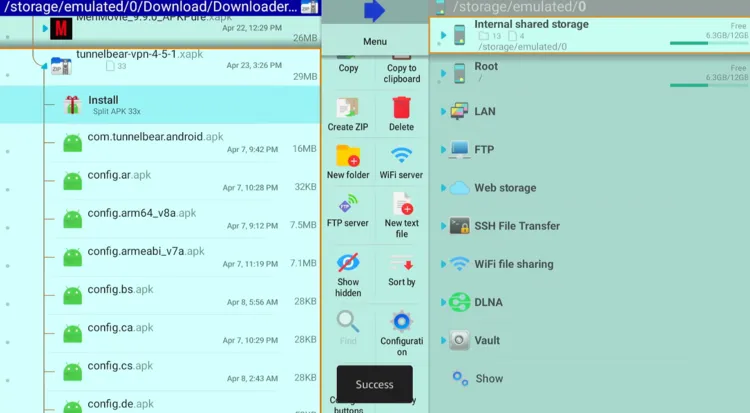
Step 37: Once installation ends, you will see the “Success” pop-up below.
How to Use TunnelBear VPN on FireStick
After installing the TunnelBear APK, you can use it right away on FireStick.
Please note that this app isn’t fully compatible with FireStick, so you will have to use the FireStick Remote app & connect a Bluetooth mouse to fully explore its features.
Follow the steps below:
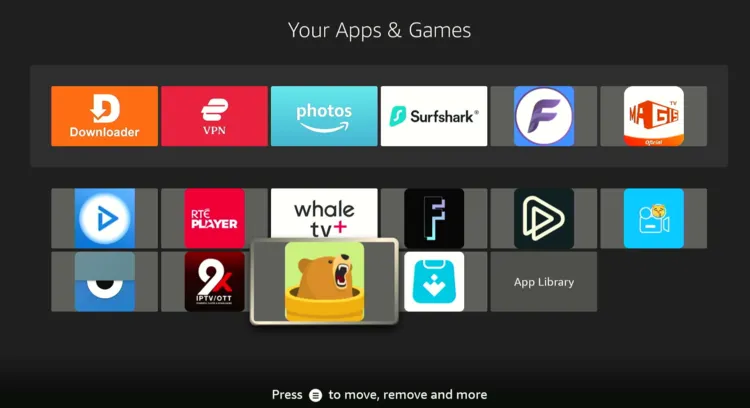
Step 1: Choose “Apps Library“.
Step 2: Select the “TunnelBear” app.
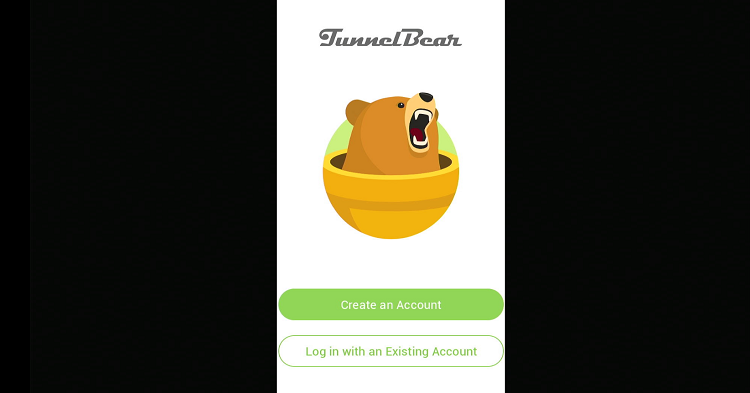
Step 3: Choose “Login with Existing Account“.
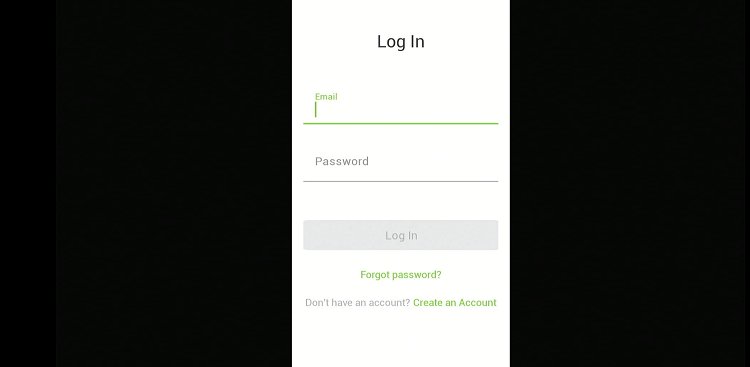
Step 4: Enter credentials and click login.
P.S. You may have a hard time typing because the keypad might now show up properly. We recommend you use the FireStick remote app.
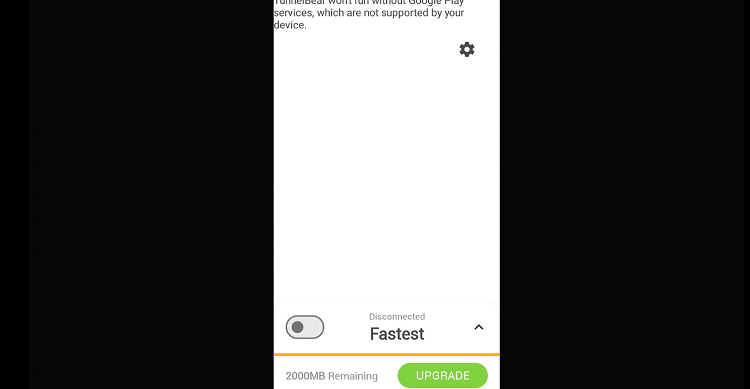
Step 5: Click the toggle icon to connect VPN.
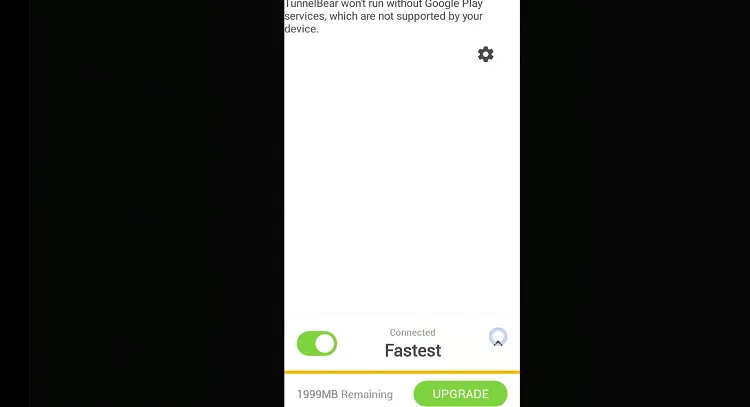
Step 6: The VPN has been connected successfully.
Is TunnelBear APK Safe/Legal to Use on FireStick?
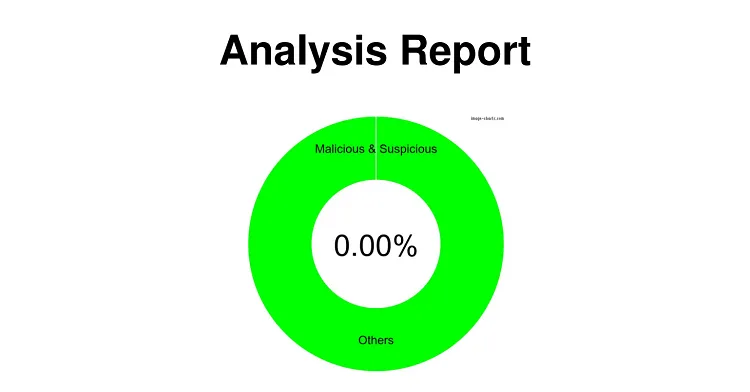
TunnelBear VPN APK (v4.5.1) is completely safe to use. We scanned it with our malware detection tool, and it came back clean – no malware, no viruses.
That said, sideloading TunnelBear APK from a third-party source might be harmful to your device, so make sure to use ExpressVPN to perform this action. It will ensure your online security.
TunnelBear VPN Pricing
Here’s the breakdown of TunnelBear VPN pricing:
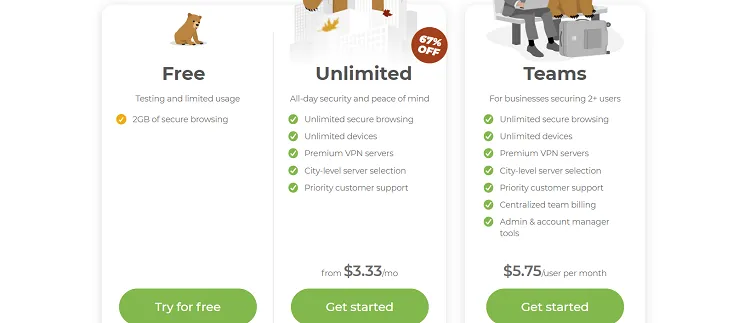
TunnelBear offers three pricing options:
Free Plan:
- 2000 MBs of secure browsing per month.
Unlimited Plan:
-
- Monthly: $9.99/month.
- Yearly: $4.99/month (billed annually at $59.88).
- Three-Year: $3.33 /month (billed as $120 every three years).
Teams Plan:
- $5.75 per user/month (billed annually).
TunnelBear VPN Features
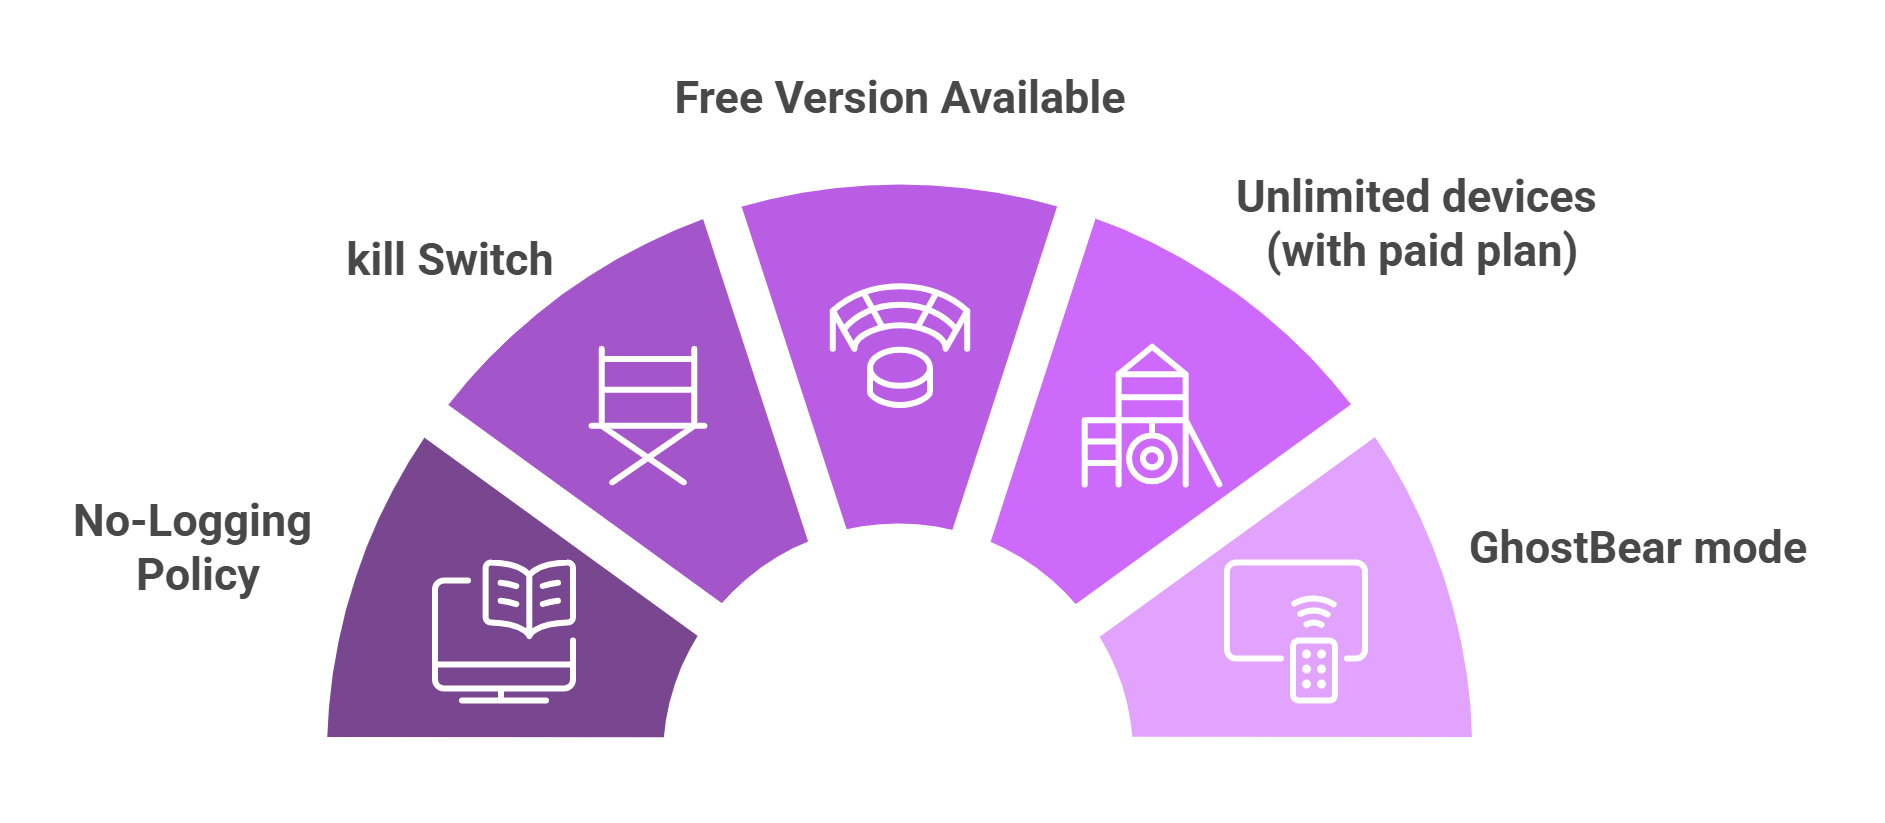
Check out some of the stand-out TunnelBear features on FireStick:
✅ Free version available
✅ AES 256-bit encryption
✅ No-logging policy
✅ Unlimited devices (with paid plan)
✅ Access to global servers
✅ GhostBear mode (makes VPN less detectable)
✅ Priority customer support (for paid plans)
✅ VigilantBear (kill switch)
TunnelBear VPN Alternatives
If you want to try out TunnelBear VPN alternatives, consider the following options:
- UrbanVPN on FireStick
- Windscribe VPN on FireStick
- Proton VPN on FireStick
- SurfEasy VPN on FireStick
- Surfshark on FireStick
FAQs – TunnelBear VPN
Is TunnelBear VPN available on the Amazon Appstore?
No, you have to sideload it manually using the Downloader app.
Can I use TunnelBear for free on FireStick?
Yes, TunnelBear offers a free plan with 2000 MB of secure browsing per month.
Does TunnelBear VPN support unlimited devices?
Yes, but only with the paid plans.
How much does TunnelBear VPN cost?
The pricing starts at $9.99/month or as low as $3.33/month with the 3-year plan.
How do I install TunnelBear on FireStick?
Use the Downloader app + X-Plore File Manager to sideload the APK from the XAPK file.
Yes, TunnelBear VPN offers a kill switch feature called “VigilantBear.
Takeaway Words
TunnelBear is one of the most affordable and reliable VPNs available, and it works seamlessly with Fire TV Stick devices.
It offers several impressive features for secure browsing and streaming, with the added benefit of a free version.
However, since TunnelBear VPN is not listed on the Amazon Appstore, you will have to sideload it from a third-party platform using the Downloader app.


After logging into existing account it tells me that:
Tunnelbear won’t run without Google Play services, which are not supported by your device.
Any suggestions?
Yes, sometimes this pop-up appears but once you press OK and it will work fine.
thank you for your work. download link not avaible anymore. i tried a diffent one and apps crashes.
hey Jonh, I have updated the blog with the latest TunnelBear VPN APK. Follow all the instructions in the blog to sideload Tunnelbear on FireStick.