Disclosure: Our experts test apps for security before recommending them. If you buy through our links, we may earn a commission. See how it works.
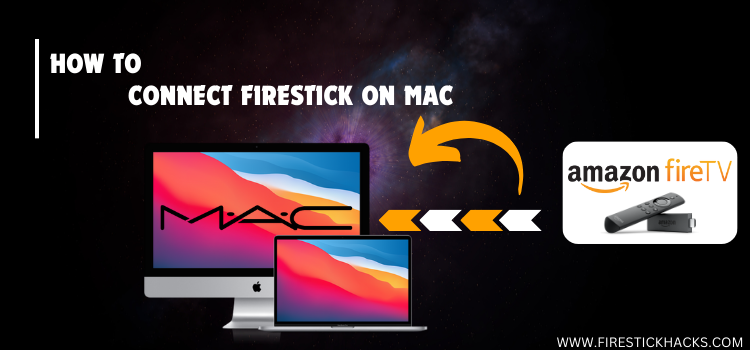
If your living space isn’t TV-friendly, the FireStick can be connected to your laptop so that you can enjoy your favorite content on the go.
But what if you don’t have a laptop? Don’t worry – your Mac can be a fantastic alternative. No, we are not talking about mirroring it on FireStick. You can actually connect FireStick on Mac.
The process is straightforward, and you don’t have to be a tech guru to get started. In this guide, I’ll walk you through the steps so you can enjoy the full potential of your FireStick alongside your Mac.
Video: How to Connect FireStick on to Your Mac
Here’s a video tutorial on how to connect your FireStick on to Mac:
What You Need to Connect FireStick on Mac?
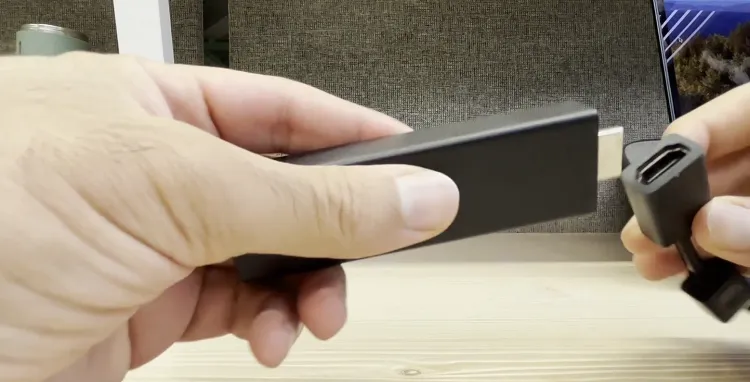
Apart from all the items that come with a brand new FireStick (FireStick, power cable, power adapter, HDMI extender), you will need the following things to set up FireStick on Mac:
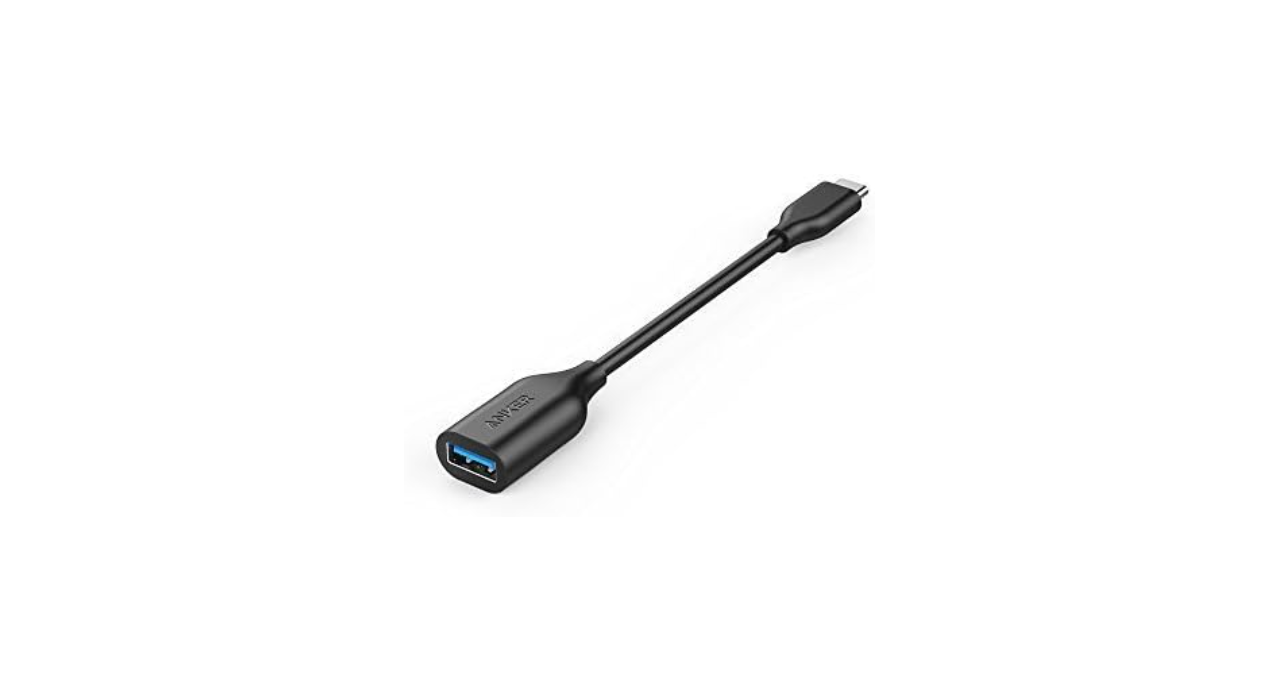
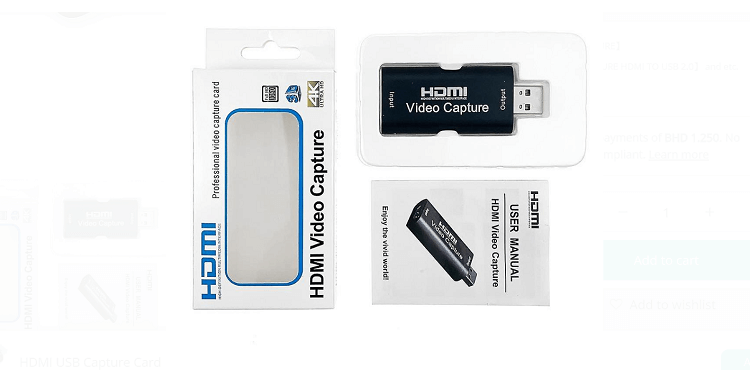
Hardware
Software
How to Connect & Watch FireStick on Mac
Once you have got your hands on all the hardware items listed above, you can kickstart the process of connecting your FireStick to your Mac.
Follow the steps below:
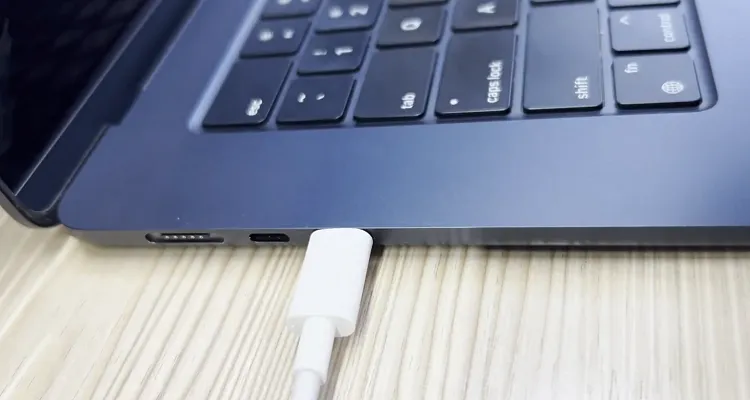
Step 1: Plug the connector’s USB-C end on your Mac.
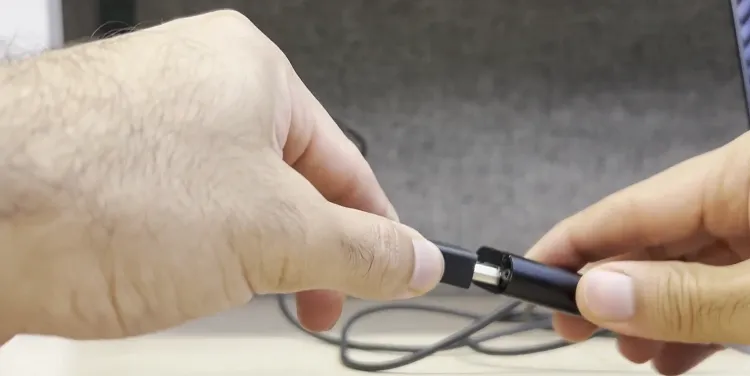
Step 2: Plug the HDMI Video Capture Card into the other end of the connector.
Step 3: Now connect your FireStick to the HDMI extender.
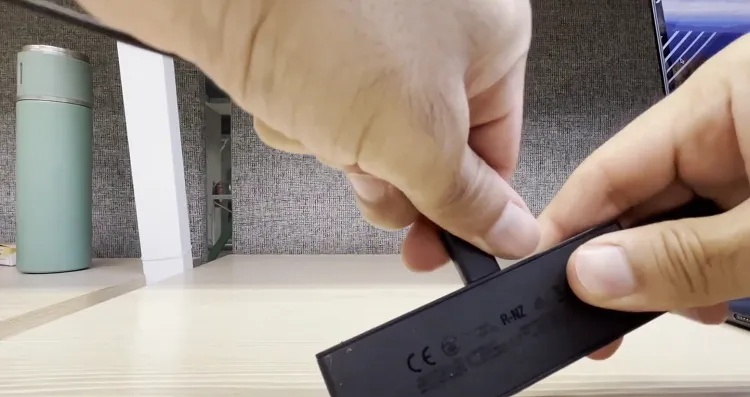
Step 4: Plug the power cable into the FireStick.
Step 5: Now connect the FireStick extender to the HDMI Video Capture Card.
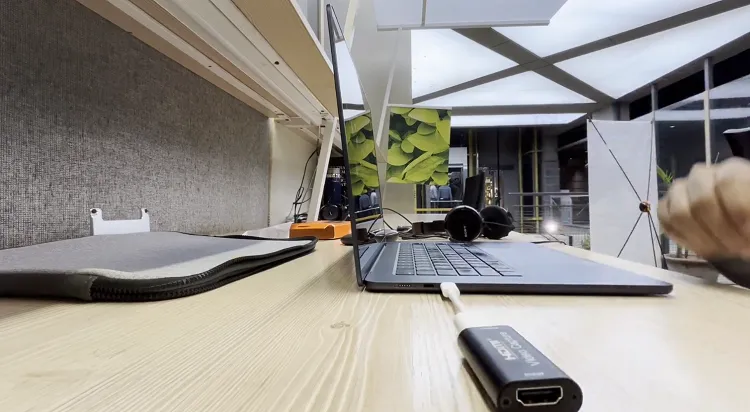
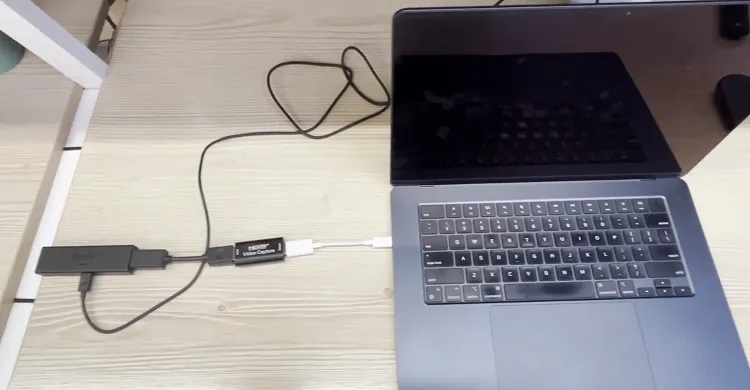
Step 6: Once you have connected everything, this is how the setup will look like.
Step 7: Finally, connect the Power Adapter to the power source and turn it “ON“.
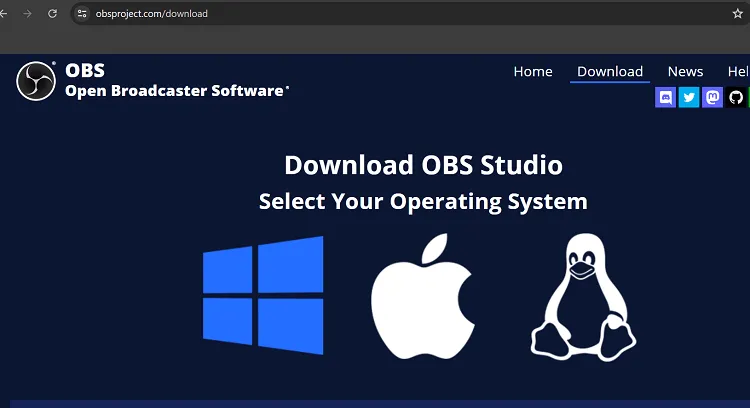
Step 8: Open a web browser on your Mac and type www.obsproject.com/download. Once the website loads, select the “Apple” icon.
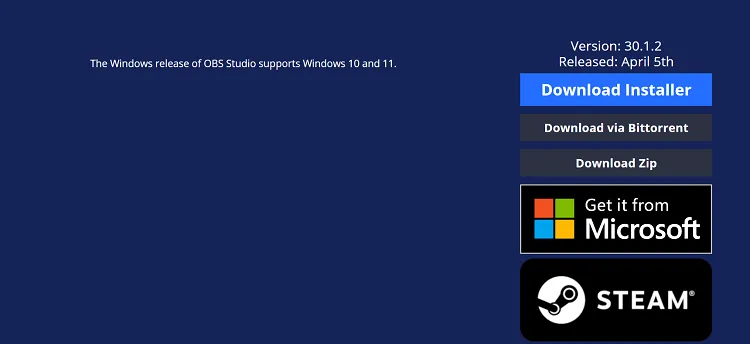
Step 9: Tap “Download Installer”.
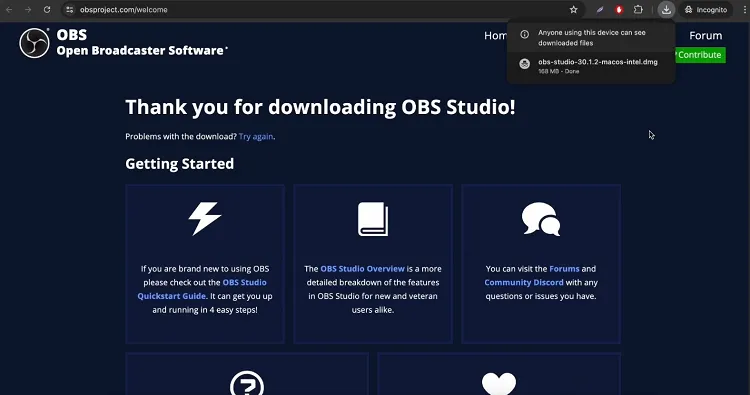
Step 10: Once the downloading ends, open the file from top right corner.
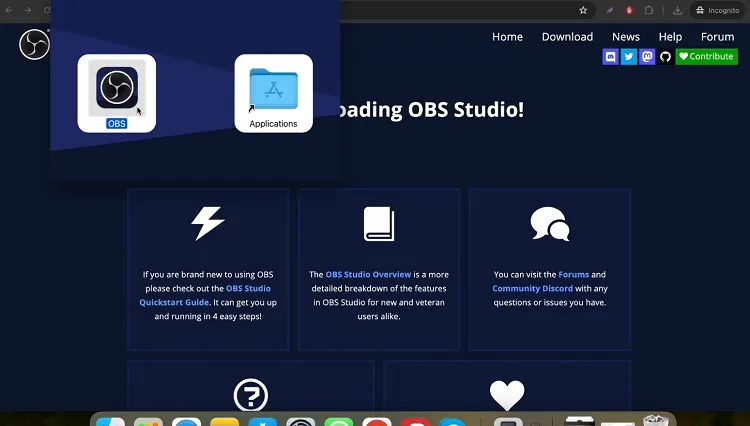
Step 11: Click on “OBS”.
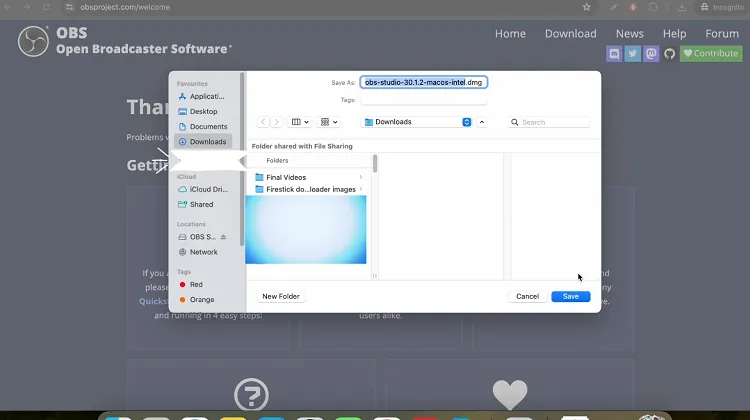
Step 12: Save it at the dried location and click “Save”.
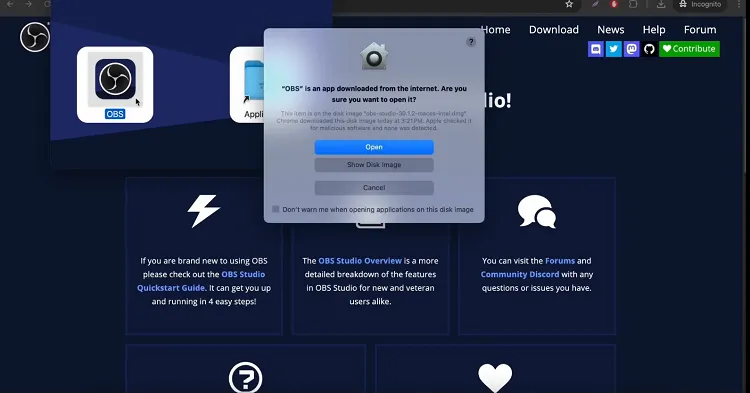
Step 13: Now tap “Open”.
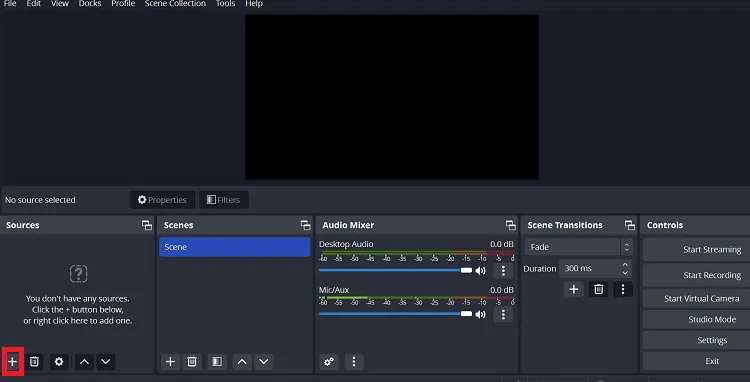
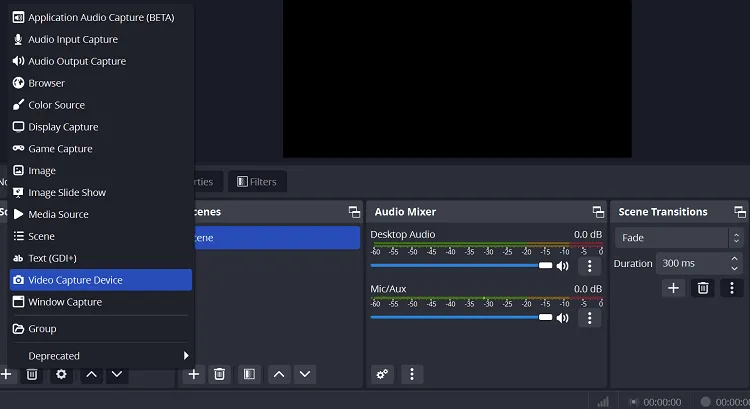
Step 14: Click the “Plus” icon under the “Sources” tab.
Step 15: Navigate to “Video Capture Device”.
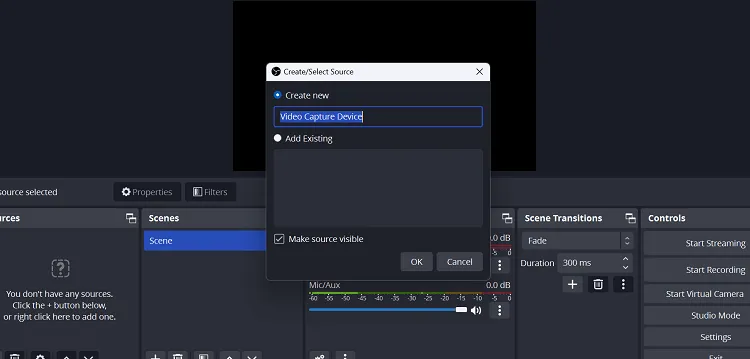
Step 16: Click “OK”.
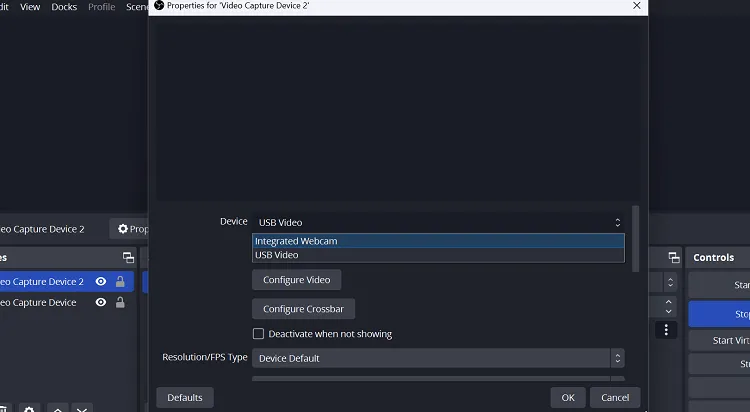
Step 17: Click the “Device” tab and choose “USB Video”.
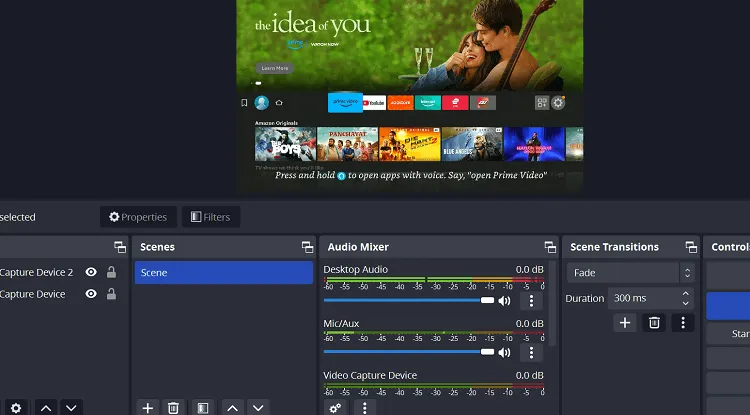
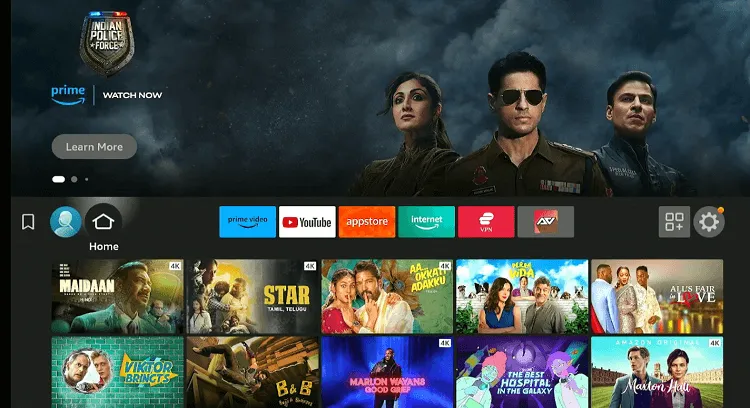
Step 18: Now you can watch FireStick on your laptop.
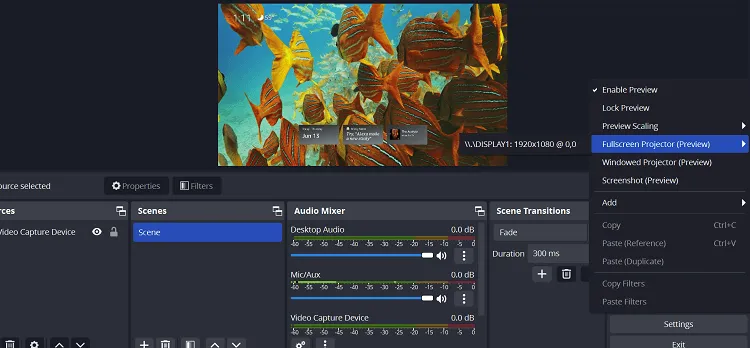
Step 19: To expand the screen size, “Right Click” anywhere on the OBS screen, navigate to “Fullscreen Projector” and select “Display: 1920×1080”.
Step 20: The screen has been expanded. Enjoy streaming!
FireStick Audio Not Working on Mac
When using FireStick in OBS Studio, you can only hear the audio through your Mac speakers after recording the videos.
However, you can use your Bluetooth earbuds and speakers to enjoy the audio; you can connect them on FireStick using the following guides:
FAQs – FireStick on Mac
Can I connect my FireStick directly to my Mac?
No, you’ll need an HDMI capture card and USB-C to USB 3.1 Adapter to connect the FireStick to your Mac.
Do I need special software to connect FireStick to Mac?
Yes, OBS Studio is commonly used to capture and display the FireStick feed on your Mac.
Can I record FireStick content on my Mac?
Yes, OBS Studio can record the content displayed through the capture card.
Does OBS Studio work on all Mac models?
OBS Studio works on macOS 10.13 or newer, including both Intel and M1/M2 Macs.
Final Words
Your FireStick doesn’t have to be tethered to a TV. By connecting it to your Mac, you can stream your fav movies, shows, and live sports from anywhere in the world.
Connecting your FireStick to a Mac might seem like a complex task at first, but if you follow this guide, there will be no hiccups along the way!
With just a bit of preparation, you’ll have the perfect solution to take your entertainment anywhere.
